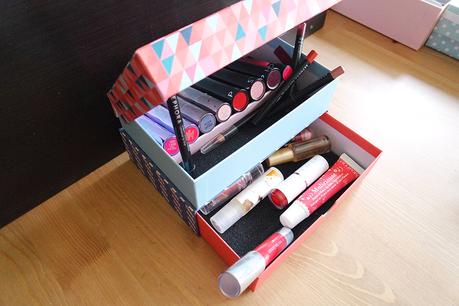
Joli n'est ce pas, mon rangement à RAL DIY
Si toi as tes deux dernières box cours ! Sors de quoi couper et de quoi coller ! En cinq minutes c'est fait !
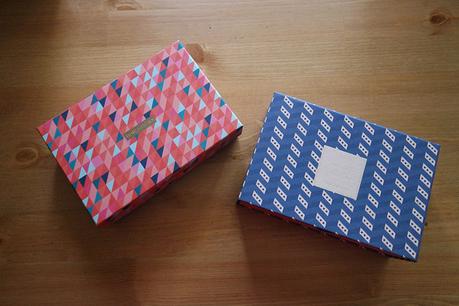
Etape une ! On coupe le couvercle de la box du haut pour en faire un coffret !
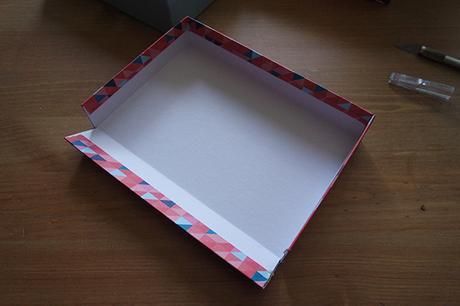
Etape deux ! Je colle mon couvercle !
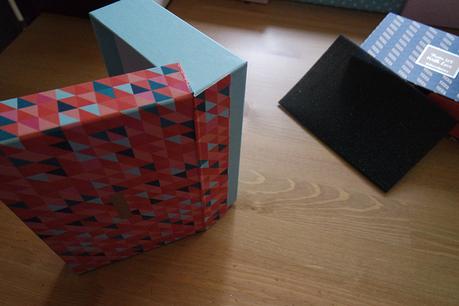
Troisième étapes ! On colle les boites ensemble !
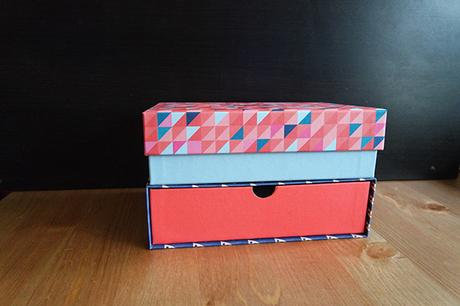
Et enfin dernière étape ! Si tu en as envie... Tu ajoutes une tranche de box dedans pour surélever les RAL et mettre en avant leurs couleurs.
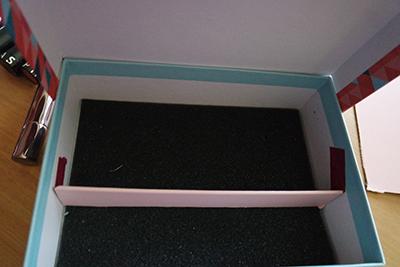
Et voilà ! La séparation me permet également de ranger mes crayons ! Sympa nan ?
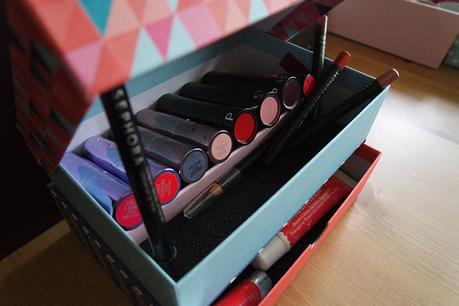
Alors ? A ton tour !
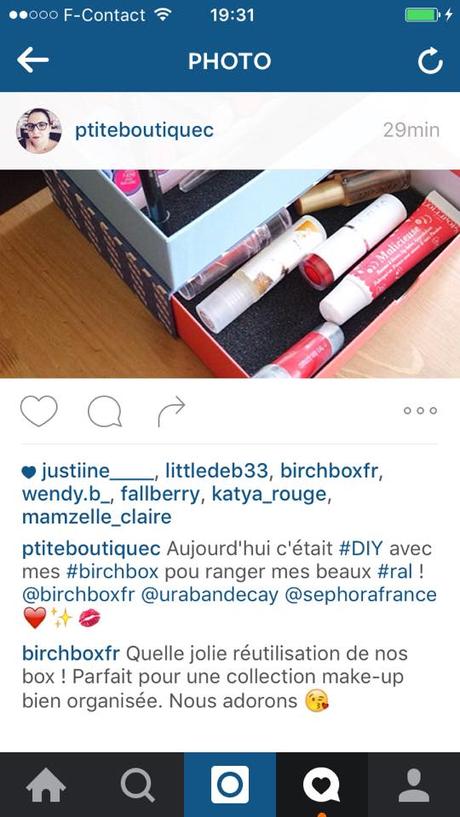
Et ca plait à Birchbox !
PS : Pour les mauvaises langues, non je ne me meuble pas en box ! Mais je peux relever le défis si vous voulez ! mdr

